

Finding your way around
Guide published:
This guide shows where things are in Autorentic, so the other guides make sense. It takes about two minutes.
Prefer to watch first? This 10-second video shows the same screens, with no sound.
Signing in
Section titled “Signing in”- Go to app.autorentic.com.
- Sign in with your email and password. If your login page shows a Google or MyDigital ID button, you can use that instead.
You land on your Dashboard.
Reading your dashboard
Section titled “Reading your dashboard”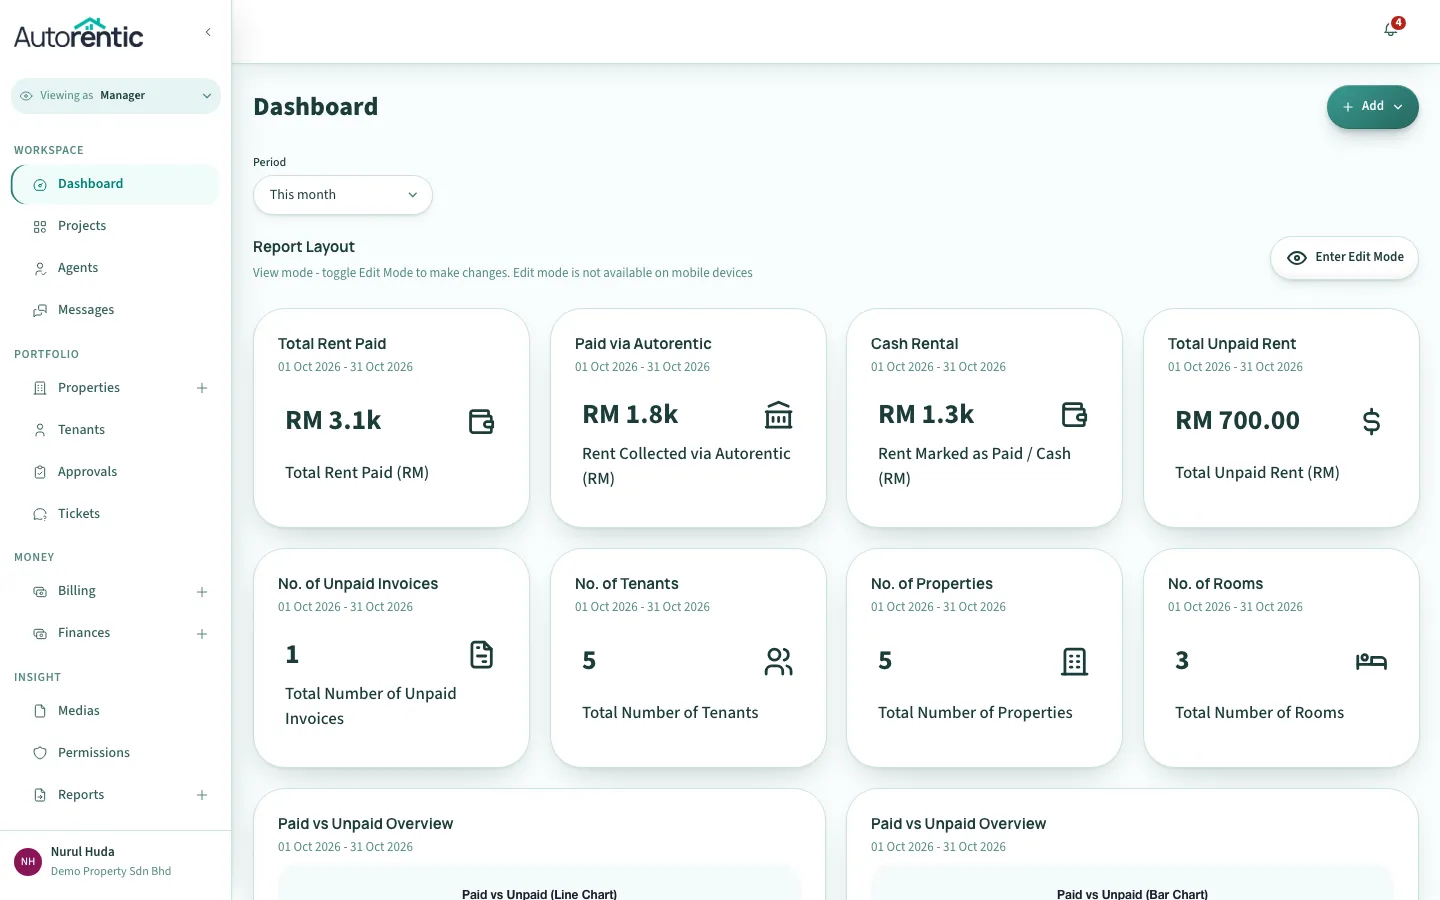
- Check the boxes at the top first. They tell you what needs your attention, for example a tenancy that has ended.
- Pick a time range from Period to change the figures below.
The cards show this month’s rent: what was paid, what was collected through Autorentic, what was marked as paid in cash, and what is still unpaid.
Opening a menu
Section titled “Opening a menu”The menu on the left is grouped by job:
- Workspace: your dashboard, projects and messages.
- Portfolio: your properties, tenants and maintenance tickets.
- Money: billing and finances.
- Insight: files, permissions and reports.
- Click Billing under Money.
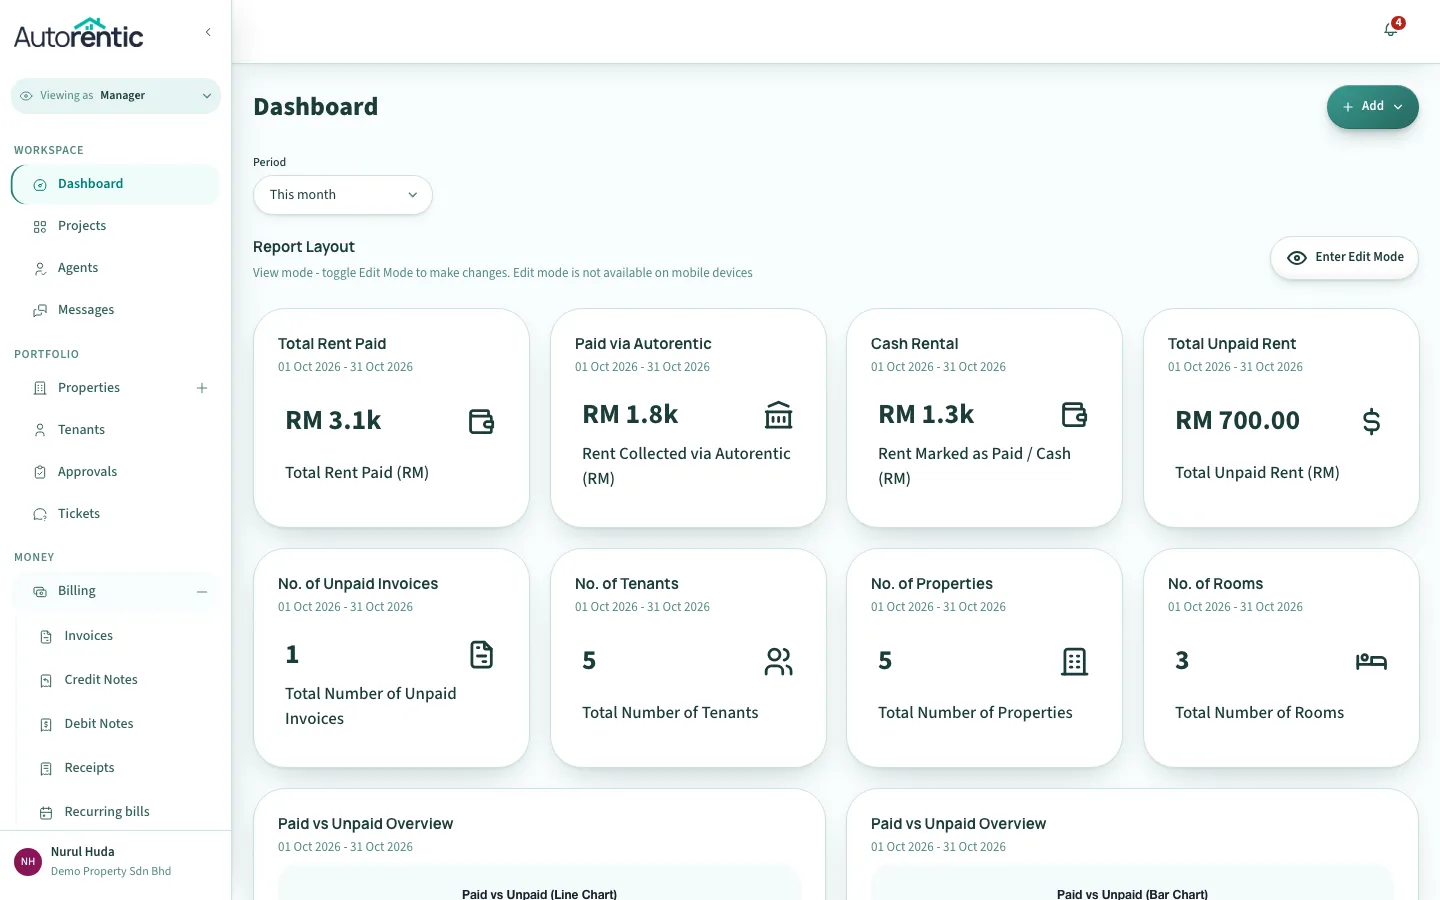
The menu opens and shows its pages: Invoices, Credit Notes, Debit Notes and more.
What to do next
Section titled “What to do next”Start with adding your first property.
Ready to try it?
Go back to Autorentic and do it now, while the steps are fresh.